Accessing RStudio Server through OnDemand
Last updated on 2026-01-27 | Edit this page
Estimated time: 12 minutes
Overview
Questions
- How can you run RStudio on the HPCC?
Objectives
- Create an OnDemand session to run RStudio Server
- Understand the options for creating an OnDemand session
- Access a terminal on the node where your RStudio job is running
OnDemand
HPCC resources have traditionally been accessed solely through a terminal. Though the terminal is still the best way to accomplish many tasks on the HPCC, launching graphical user interfaces (GUIs) like RStudio is not one of them! This procedure has been streamlined through the use of OnDemand to run graphical applications through your web browser.
This is where we will start our journey with R on the HPCC, eventually making our way back to using R on the command line.
Starting an RStudio job
We’ll begin by logging in on OnDemand. Go to https://ondemand.hpcc.msu.edu. If you are prompted, choose Michigan State University as the Identity Provider, and log in using your MSU NetID and password. Before we get into any other OnDemand specifics, we’ll submit an RStudio job to get you up and running.
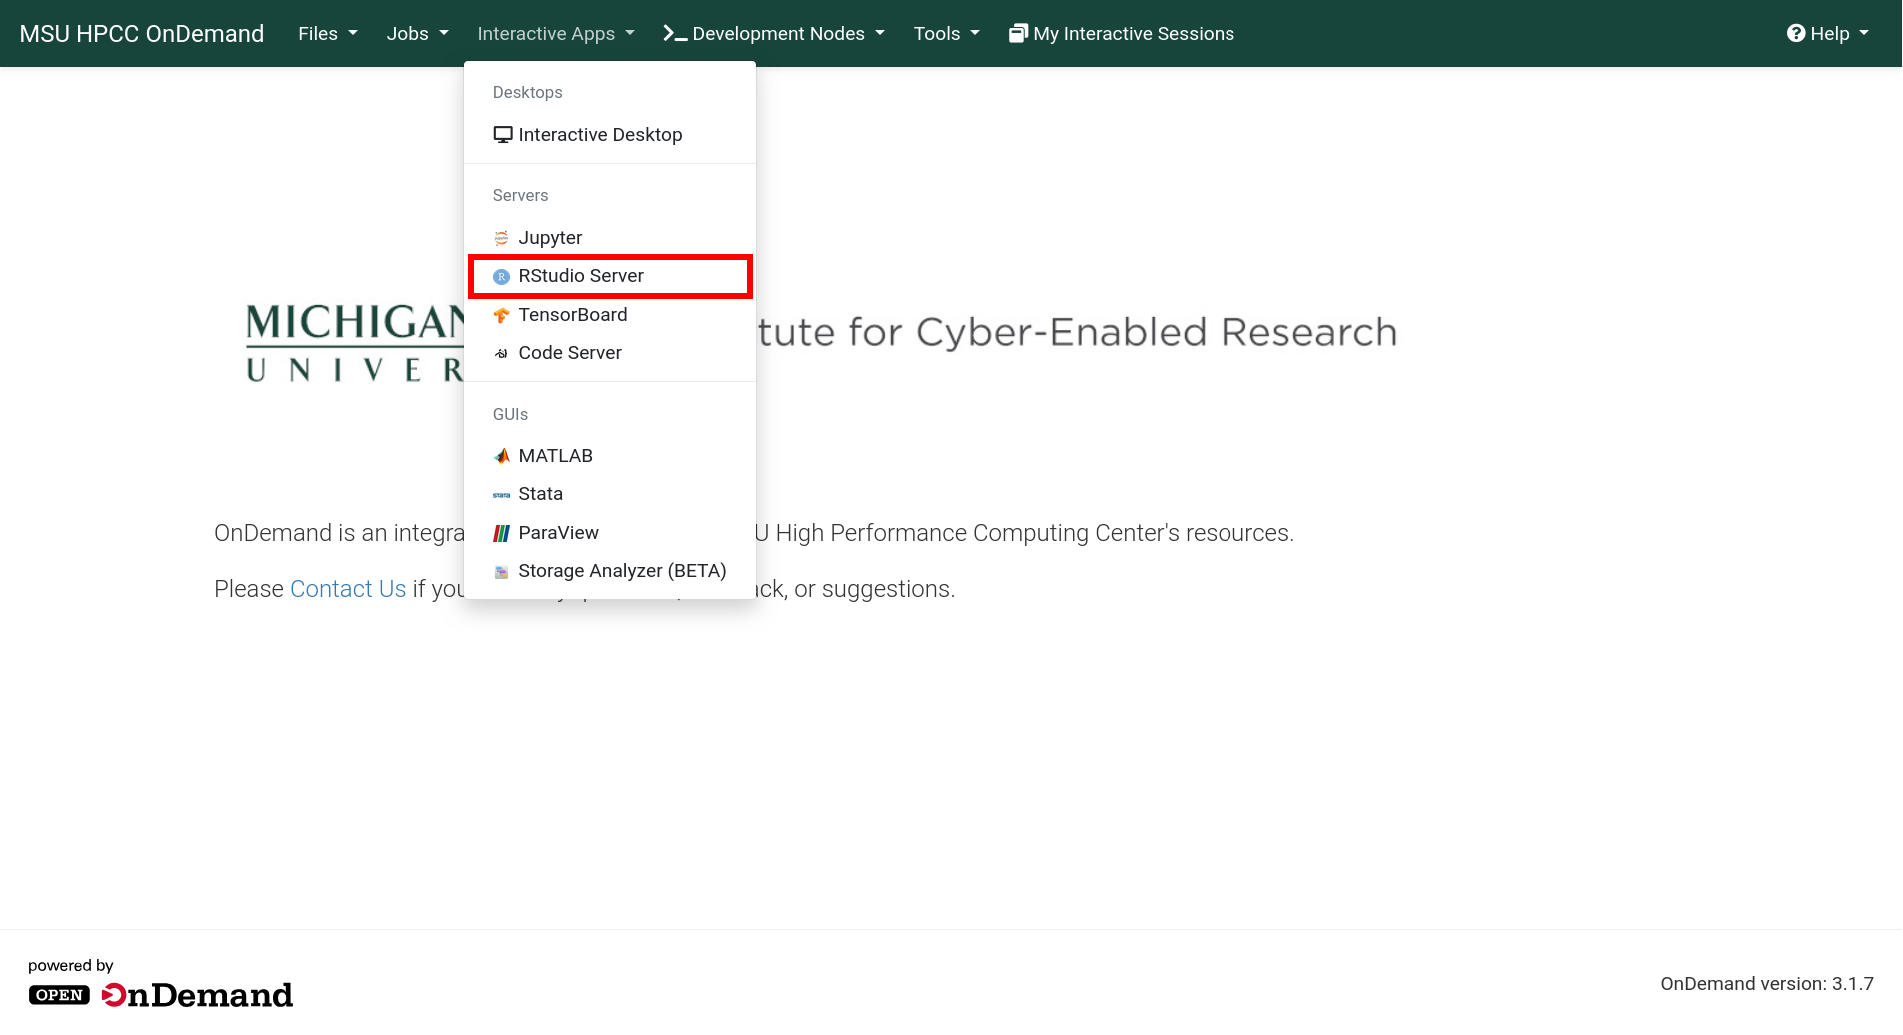
Go to the Interactive Apps tab and select RStudio Server.
RStudio Server vs RStudio
In ICER’s OnDemand interface, we use RStudio Server instead of just RStudio. This is a version of RStudio that runs on compute nodes and opens in your browser. Though it is possible to run plain RStudio on the HPCC, we use the Server version is as it displays more clearly and is easier to copy and paste into.
For the rest of this page, when we refer to “RStudio”, we really mean “RStudio Server”.
On the following screen you will be able to choose the options for your RStudio job. For this workshop, you should use the following options:
- R version: 4.3.2 (with additional CRAN packages, RECOMMENDED)
- Number of hours: 3
- Number of cores per task: 8
- Amount of memory: 5GB
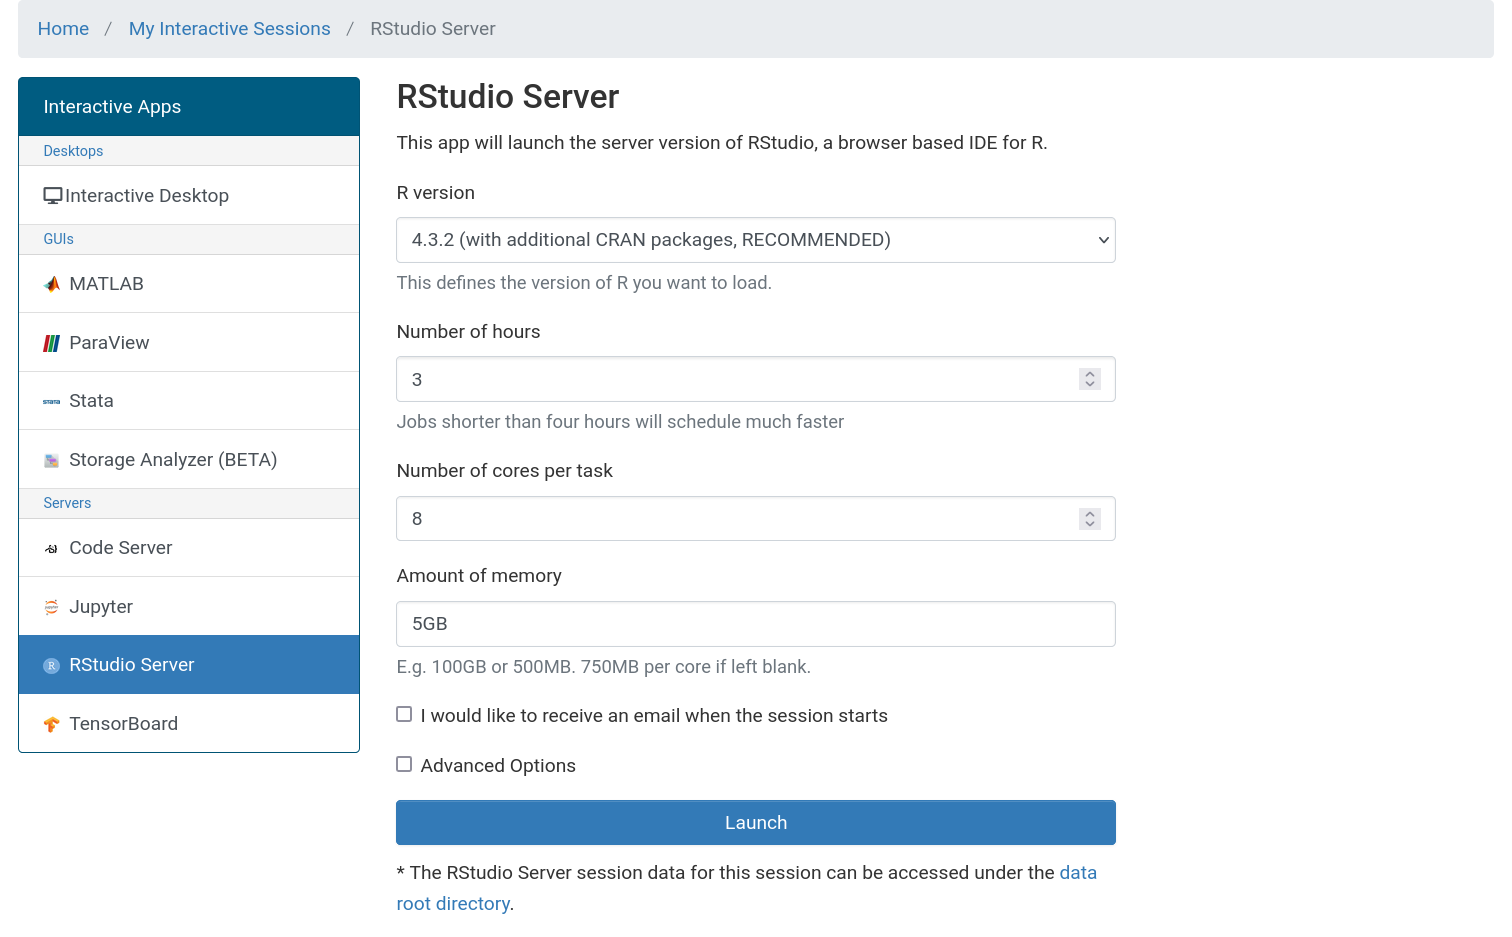
Additionally, click the Advanced Options checkbox and under Node type, select “intel16” (we’ll explain why later).
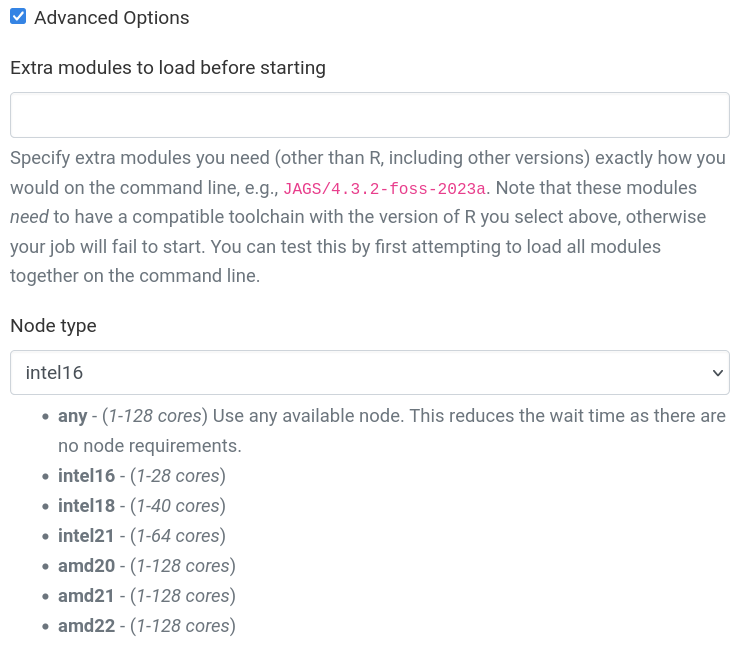
If you need to specify any other options (for example, if you want to run your session on a buy-in node and specify your SLURM account), you enter additional information in the Advanced Options section.
Select the Launch button and wait for your job to start. When your job is ready, you will see a card with all of the information for your job. The most important fields for now are the Host which is the node on the HPCC where you job is running and the Time Remaining which counts down from the requested number of hours.
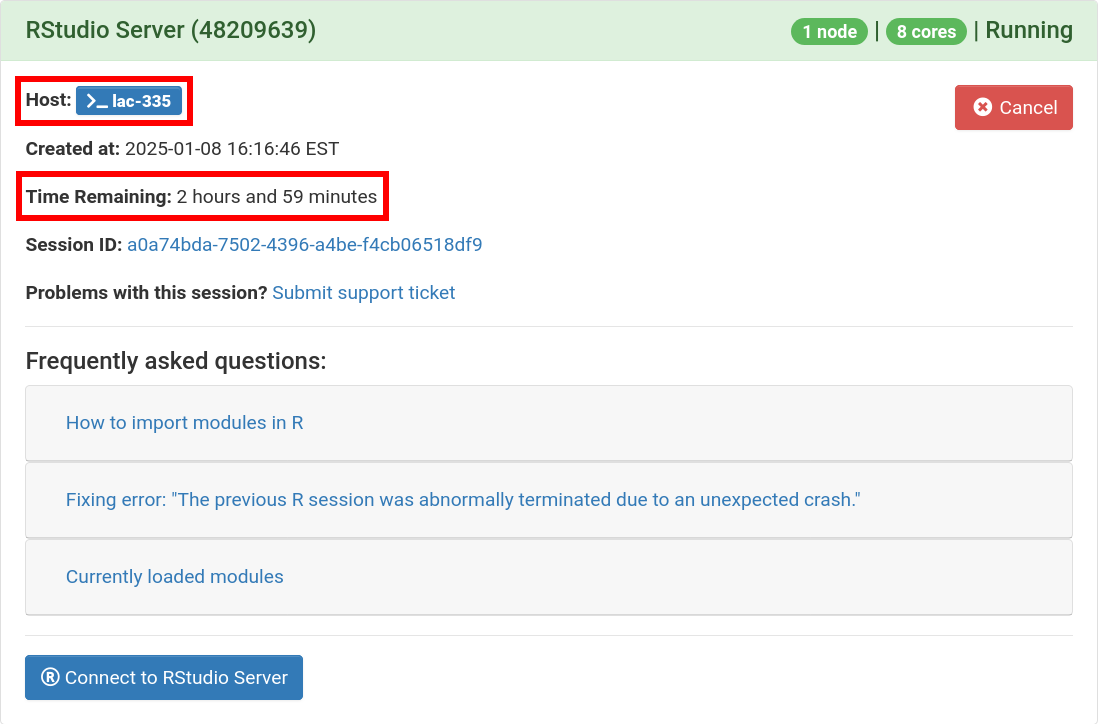
When you’re ready to access RStudio, you can click the Launch RStudio Server button. If you ever navigate away from this screen, you can always return to it by clicking the My Interactive Sessions button in the OnDemand navigation bar. On narrower screens, this button shrinks down to a graphic of a pair of overlapping cards next to the Tools dropdown.
RStudio
After Launching your RStudio session, a new tab in your browser will show an RStudio interface.
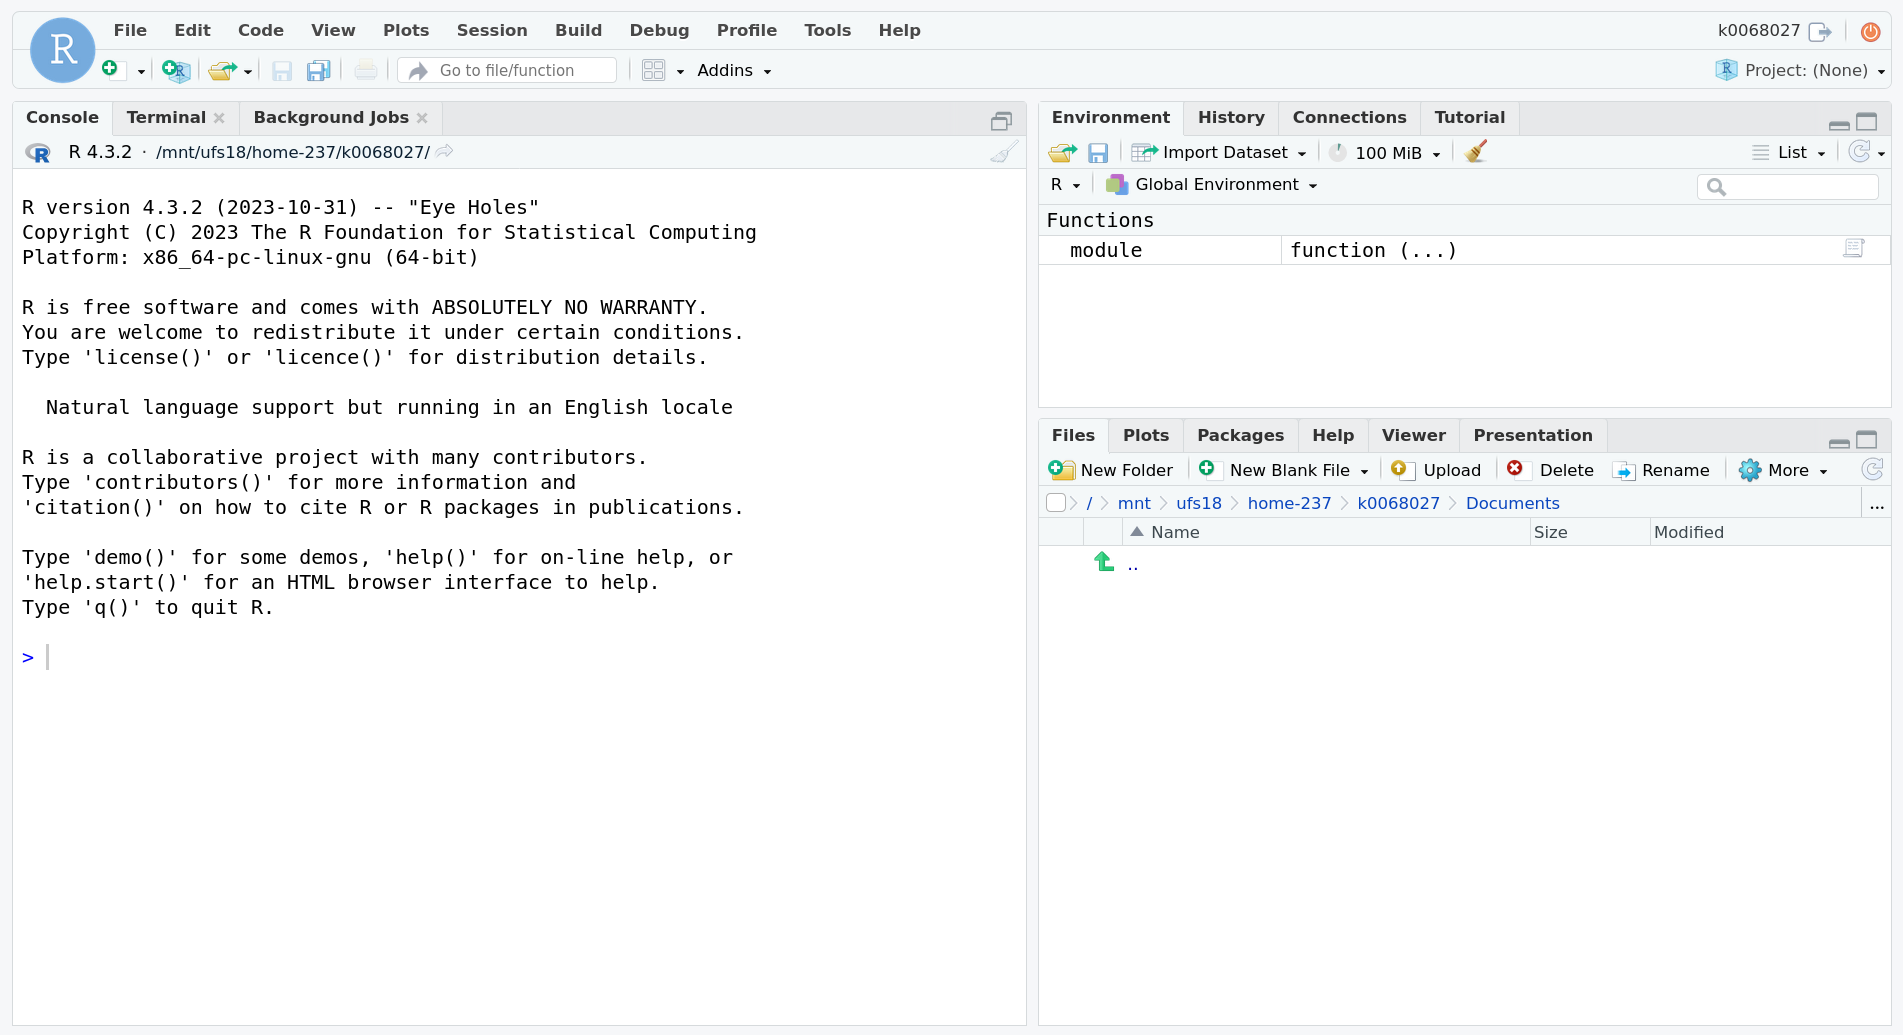
On startup, there are three main sections to RStudio: an R console, an environment section, and a file browser. Notice that the file browser starts in your HPCC home directory.
Open a file
Use the RStudio interface to create a new R Script file.
Click the button that looks like a page with a plus sign right below the file menu and choose R Script.
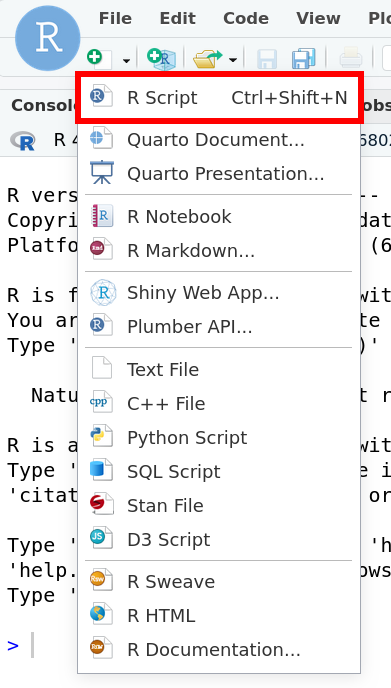
Notice that the R console shrinks to make room for the text editor.
Connect to your RStudio node from the command line
As discussed earlier, OnDemand tells you the Host that your RStudio job is running on. From time to time, you may need to run commands on this host from a command line. You have two options.
The RStudio terminal
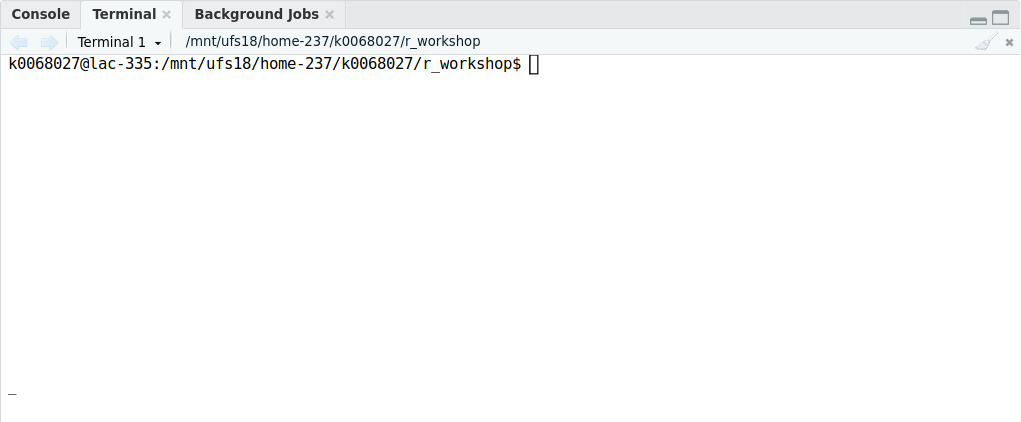
Handily, RStudio provides a terminal for you to use! Right next to the R console, is a Terminal tab. Clicking this tab will start a terminal on the same node that RStudio is running on.
SSH
This can be accomplished through any terminal that you can SSH to the HPCC on. Since we’re already using OnDemand, we’ll use the built-in terminal.
Returning to the OnDemand window, open the Development Nodes dropdown from the navigation bar.
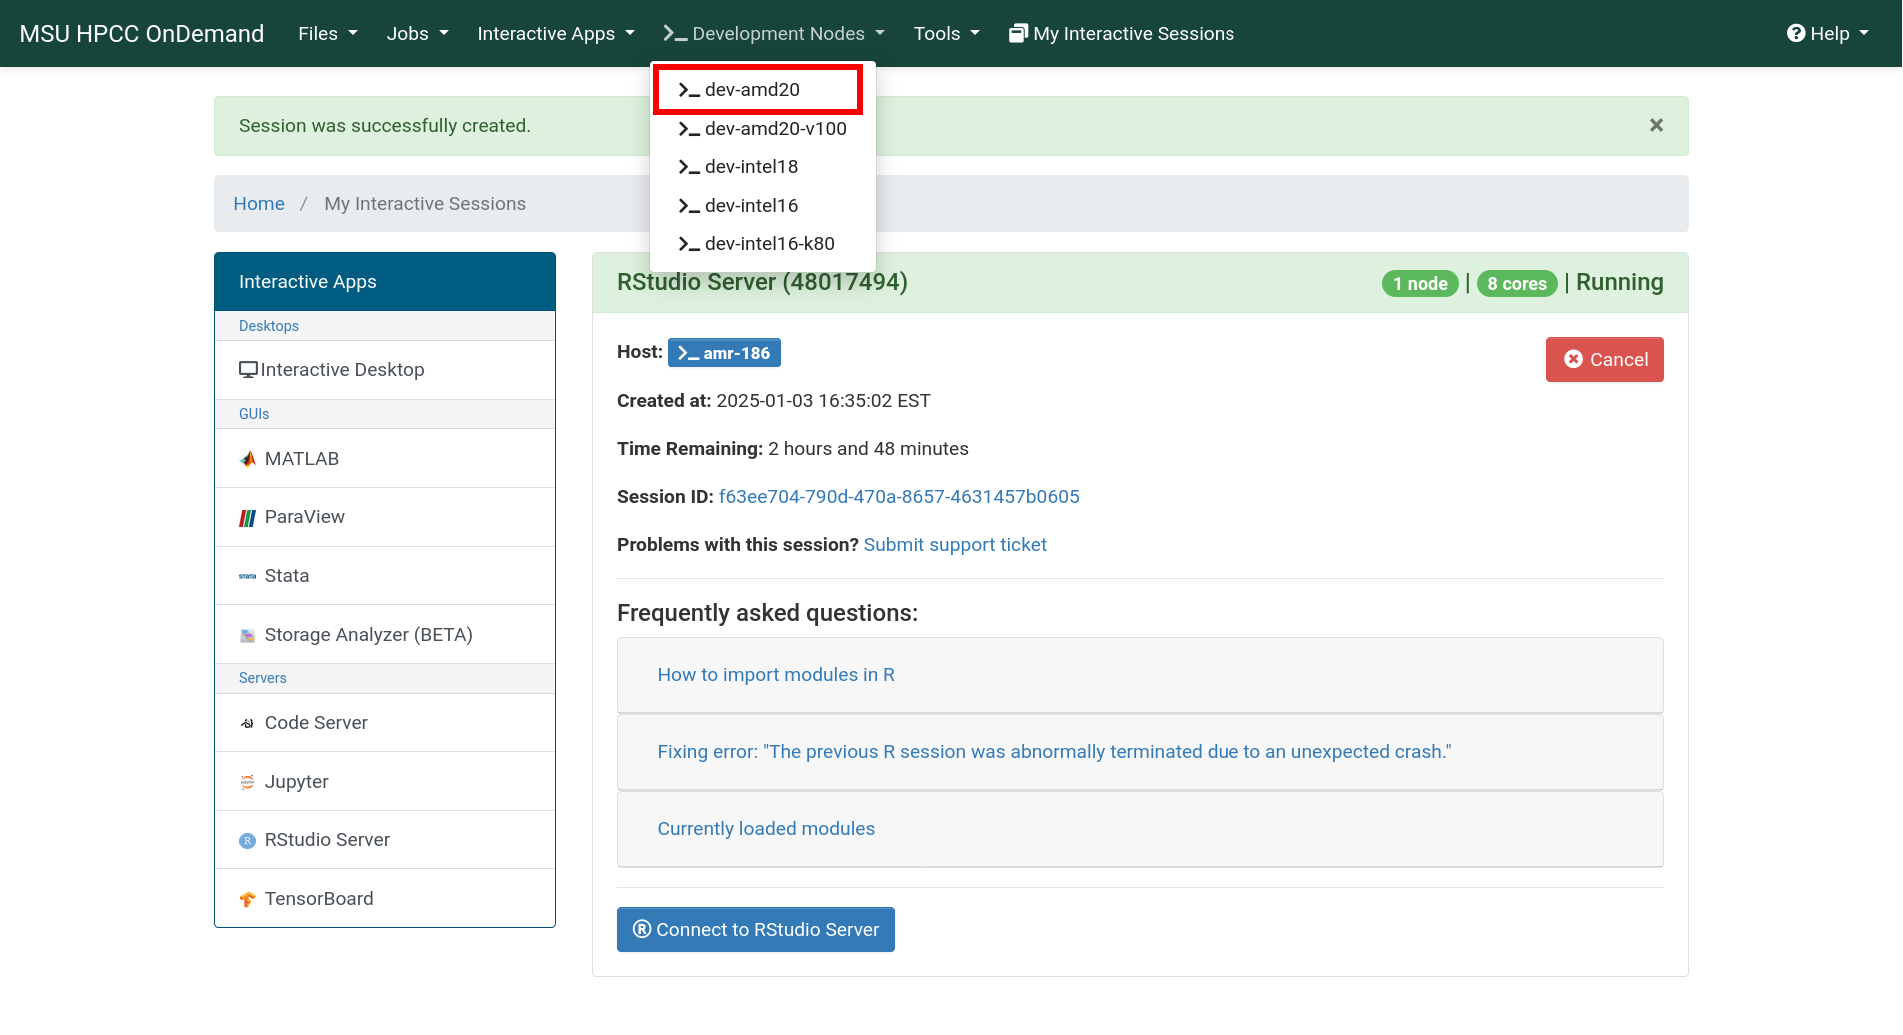
Choose any development node, and a new tab will open with a terminal on that node.
SSH outside of OnDemand
If you are not using an OnDemand terminal, you first need to manually
SSH into a development node. From your terminal (e.g., the built in
terminal on Mac or MobaXterm on Windows), SSH into the gateway via
ssh <netid>@hpcc.msu.edu, then SSH into a development
node, e.g., ssh dev-amd20.
Now find the Host your RStudio session is running on (remember, this information is always available in the My Interactive Jobs section in OnDemand), and in the development node terminal type
replacing <host> by the host your RStudio session
is running on.
Challenge
Run the top command via command line on the node your
RStudio session is running on and verify that indeed R is running
there.
Hint: If your node is busy, you can use
top -u <netid> (replacing <netid>
with your username) to see just your running processes.
Running top -u k0068027 (my username) from the RStudio
terminal shows the rsession command in the
COMMAND column representing the R session where we can
execute code. Scrolling through the entries, rserver (i.e.,
RStudio Server) also appears.
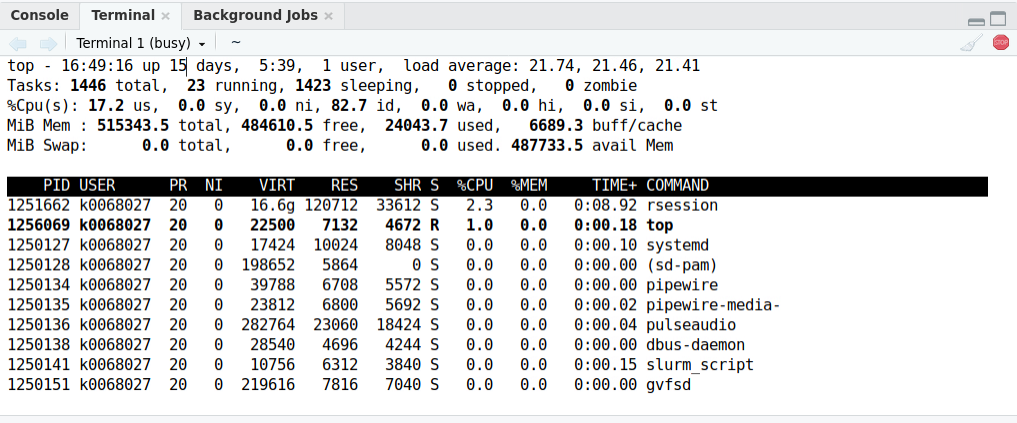
Depending on your screen width, you may have to use the arrow keys to
scroll to the right and see the COMMAND column.
- Start an RStudio Server session from OnDemand
- Access the command line of the node your process is running on through the RStudio terminal or SSH into the host OnDemand provides you.
